
Weather Experiments with the Royal Meteorological Society
Experiment #2
Learn how to make a Rain Gauge that you can use at home!

Click here to download the PDF Instructions
Materials needed to make your rain gauge:
- An empty, plastic 2 litre bottle
- Some jelly
- Paper clips
- A ruler
- Selotape
- Scissors
- Hot water
When you're done you can place your rain gauge in an open location where it can collect rain without being affected by buildings or trees. To help it stand upright you might either dig a hole and bury your rain gauge so that the top is sticking about 5cm out of the ground or you can use a bucket of ballast (pea-shingle, sand or similar) which can be mounded up each time after taking your recording.
Once it's in position, it's best to visit your rain gauge at the same time each day to check its level. It can then be emptied out so that the following day starts at zero!
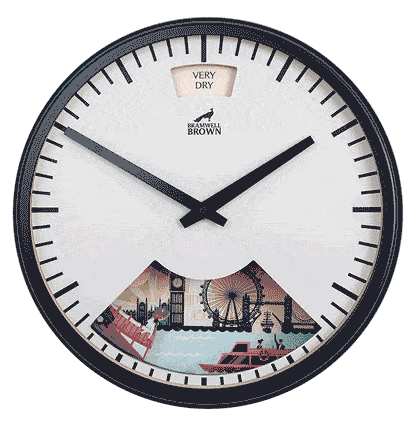
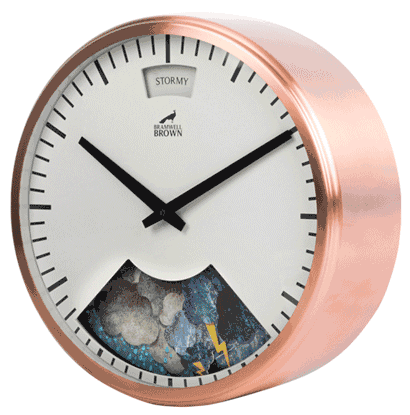
Weather Forecasting Clocks

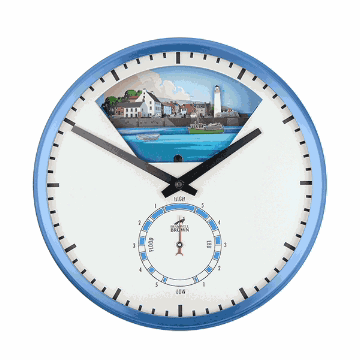
Our clever Tide Clocks
Handcrafted Quality